Salesforce is one of the leading Customer Relationship Management platforms available in the market. It has some of the coolest features and different types of flows that make it stand different from others.
In this blog, we will give you an in-depth overview of this new Screen Flow Salesforce feature in the ecosystem. We will begin with the basic knowledge and move towards some detailed topics as we progress.
What Actually is Flow in Salesforce?
It might be the first time for some of you to hear about Flows in Salesforce. Well, don’t be amazed as the brand recently decided to withdraw Process Builder and Workflow which lead to a sudden spike in demand for Flows.
Screen Flow Salesforce tool is a helping hand for developers that can handle almost every business requirement. There is no doubt in the fact that it is far more accessible and quick than the previously available features. For you to compare, Screen Flows can be run and tested before saving which can become handy to make swift changes in the flow. Salesforce is trying to make them even more effective as users get a bunch of Flows with different usage.
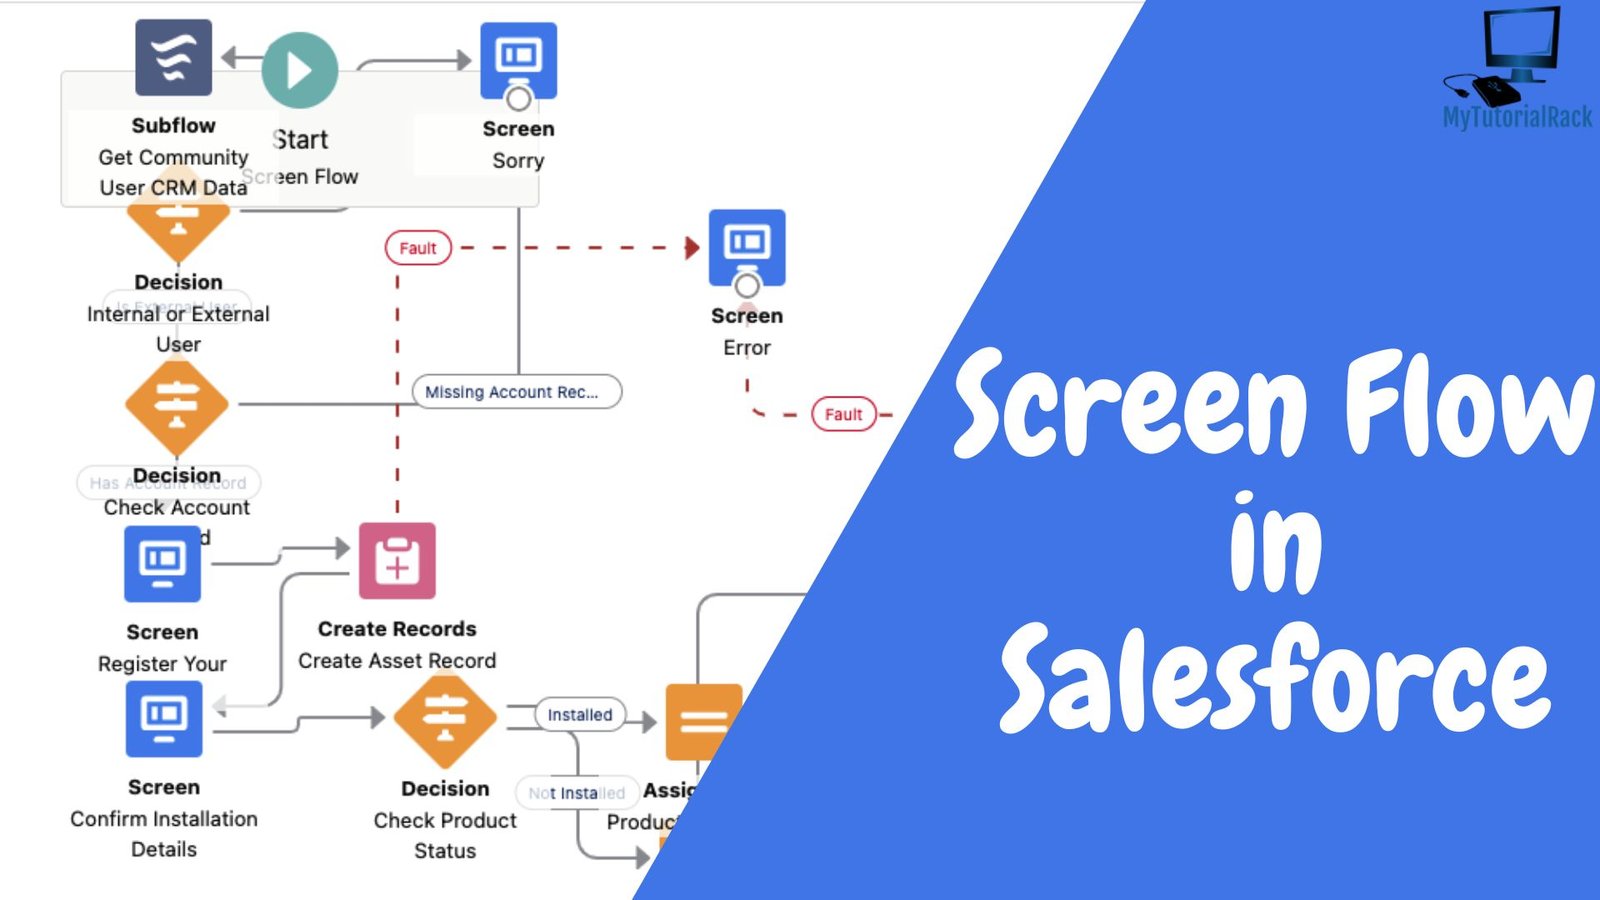
What is Screen Flow Salesforce Tool?
Users can easily navigate through a certain business process as Screen Flow is available to guide them along. It can help in providing instructions and running scripts without you even writing a single line of code. Moreover, creating them from scratch could be more fun as it gives you complete freedom to tweak them according to your requirement. Although some users prefer pre-built templates to save time.
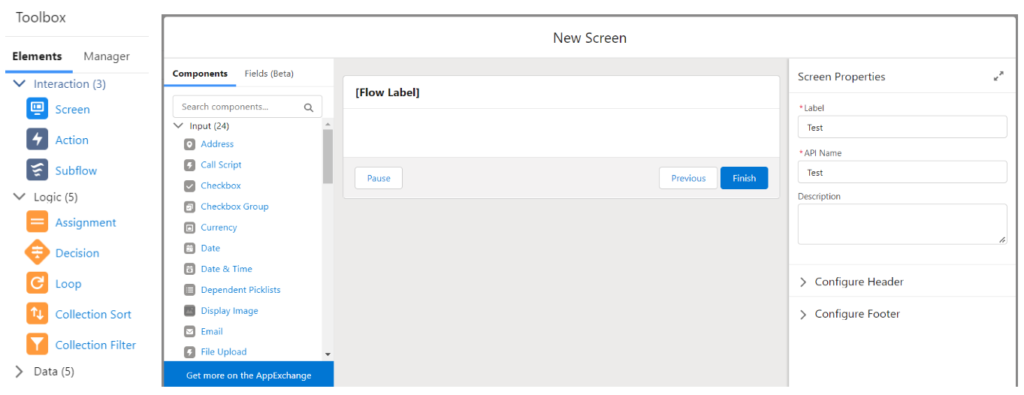
It is important to note that a single Salesforce Screen Flow can have more than one screen. The components panel contains all the items that you can display on the element itself. Some popular components are,
Toggle: Toggle buttons can be used to store any user decision or choice from the pick list.
Email: The user fills in the email for further processing in the screen flow
Don't forget to check our post on Salesforce Flow Best Practices to Deploy.
Use Case Scenarios for Screen Flow
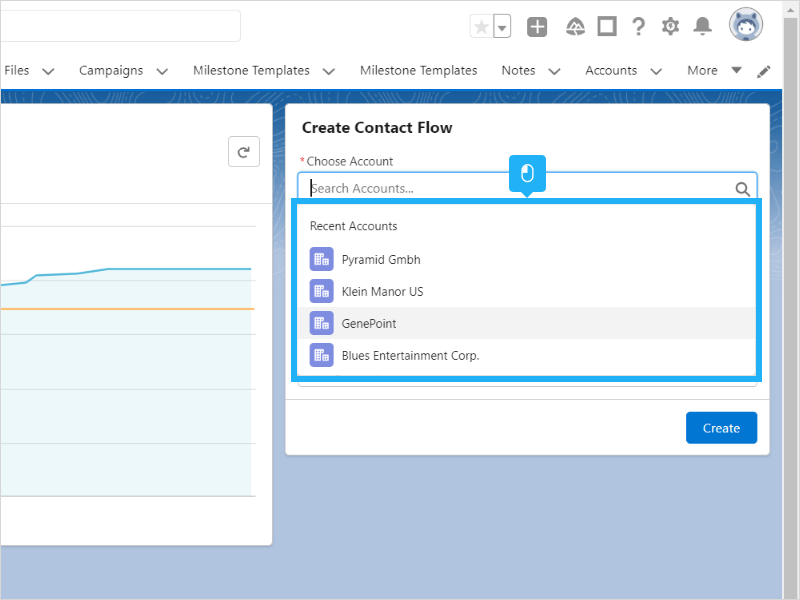
Now the question arises, what all situations are there where the Screen Flow Salesforce tool can be put to the best usage? Well, it can be a lifesaver when you need any kind of user input. For instance, if you want to transfer the user to a particular screen based on previous decisions, flows can be placed accordingly. However, you can also use it to gather data and create a record in the system for a particular condition.
How to Create a Flow?
The following steps will make it easy for you to create your first Salesforce Screen Flow. Don’t forget to use multiple fields as per the requirement of the screen.
- Open the Flow Builder and create a new Screen Flow
- Choose the layout and begin dragging the elements
- Enter the name and click on Configure Footer.
- Fill in the details for the element and try to make it as simple as it can be.
- If you have selected the Free-Form, make sure to connect the components accordingly.
- Finally, give a name to the flow and Activate it!
The best part is that you can even test the flow by clicking on the Debug button. It will help you to avoid any prominent errors before moving into the live production environment.
Conclusion
We hope that you had a great learning experience through our Screen Flow Salesforce tutorial blog. You can now go on and create an endless list of scenarios that are easily achievable using flows. I can assure you that you will get more friendly with this tool as you use it regularly. Make sure to give your feedback in the comments section below.